Background
Ecuador straddles the equator on the west coast of South America. Its major regions are the coastal lowlands, the Andes mountains, the Amazon, and the Galapagos Islands. The cuisine of the lowlands is heavier in seafood with lots of ceviche. The mountain regions tend to have more grains and farmed meats. The mountain regions are also known for eating guinea pig. Yuca is the major staple in the Amazon region.
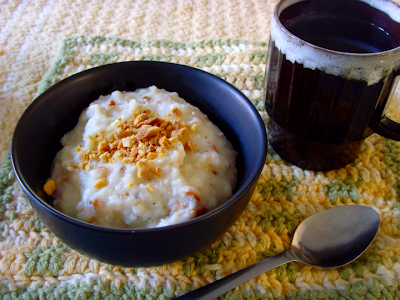
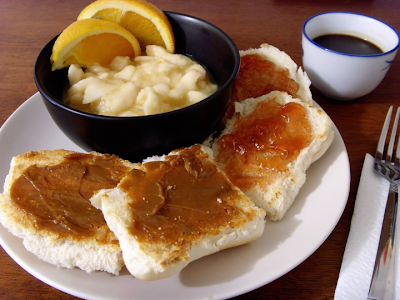
We chose to make sweet tamales, called quimbolitos, which we found in The South American Table. They are served as snacks, desserts, or for breakfast with a cup of coffee. The recipe varies from region to region, most often in the proportion of cornmeal to wheat flour. The ratio of lard to butter also varies. We decided to skip the raisins since we forgot to buy any Kitty doesn't really like them.
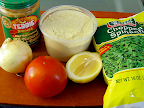
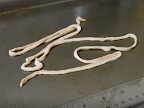
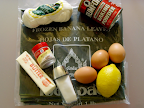
The exotic ingredient for this week is the banana leaf. We are using it a wrapper for the tamale dough. Banana leaves can be found in the produce or frozen section of most market that carry Latin foods. They are also used as serving dishes across tropical and equatorial regions. The leaves are very large!

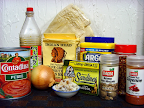
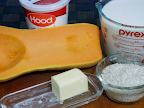
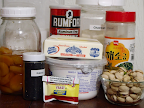
- 2 sticks unsalted butter, softened
- ¾ cup + 2 tbsp sugar
- 6 eggs, separated
- 6 oz chihuahua cheese, shredded
- ½ cup cornmeal
- 1 cup flour
- 1 tsp baking powder
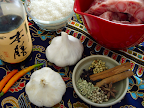
- 1 tbsp lemon zest
- ½ tsp anise seeds
- 2 tbsp brandy or anise liquor
- banana leaves, thawed if frozen and cut into 10x14 inch rectangles
- Cream butter and ¾ cup of sugar.
- Add egg yolks one at a time, beat until the mixture is light and fluffy.
- Stir in cheese, cornmeal, flour, baking powder, zest, and anise.
- Mix egg whites with a pinch of salt.
- Beat the eggs until you have soft peaks, then add 2 tbsp of sugar and continue to beat until you get glossy, stiff peaks.
- Fold 1/3 of the egg whites into the butter and cheese mixture to lighten, then gently fold in the remaining egg whites.
- Spread ¾ cup of the mixture onto the middle of the banana leaf to a thickness of ¾ inch.
- Fold the long sides of the leaf together over the filling. Fold short ends under the leaf.
- If the leaves seem flimsy or have holes you can then wrap the packets again in aluminum foil. Otherwise tie them up using kitchen twine.
- Steam for about 20 minutes.
Results and Discussion
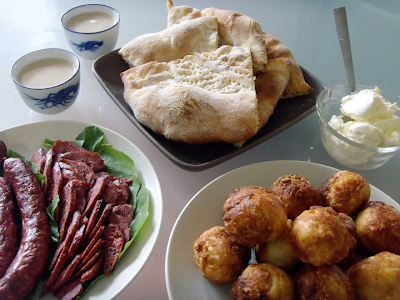
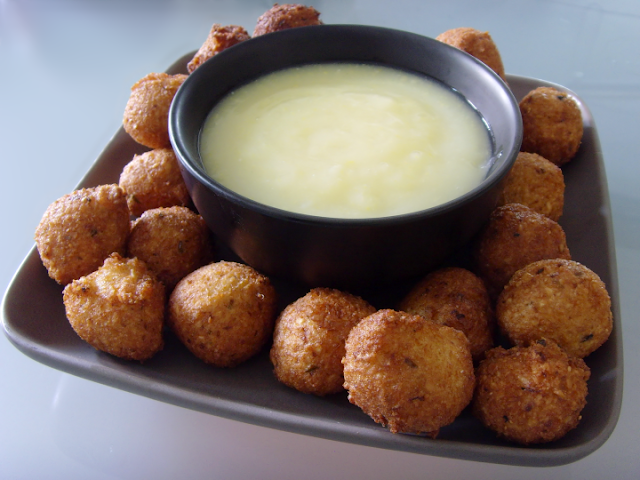
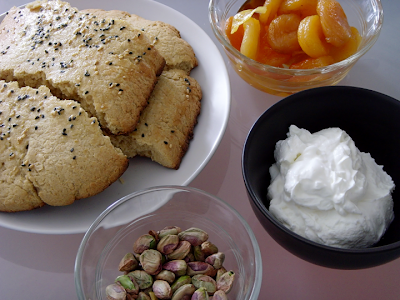
These turn out really well. A lump of butter, cheese, and flour goes into the banana leaf and very moist, puffy cake comes out. The shredded cheese adds texture and the lemon and anise give a really nice flavor. If you want to cook a lot of these at once a multi-level bamboo steamer basket might work very well.
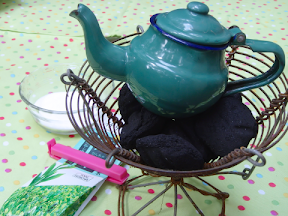
The banana leaves are not eaten but we were trying to describe their smell. Kitty thought they smelled like tea. The smell reminded me of artichoke. In the end we decided they had the general vegetable-y leaf smell. They are not edible, probably because the leaves are so tough and fibrous.
You will probably have lots of leftover banana leaves as they are commonly sold in one pound bags. They can be used like a natural tinfoil to wrap things that you want to roast or steam, or as serving "dishes." If you leaves have not already been frozen you can also just freeze them, otherwise they last 1-3 weeks in the fridge.